
TO RECEIVE THE AD FREE PDF DOWNLOAD OF THIS PATTERN STRAIGHT TO YOUR INBOX —YOU CAN PURCHASE THAT ON ETSY HERE (for less than a cup of coffee ;))
I have made a few iterations of this pattern over the years. It have always been my most requested pattern but I was never happy with the final design. I FINALLY came up with a version that I am really happy with. I like that it is not too big and not too small. The final dimensions are 3 x 5 inches but if you wanted to make it bigger you could follow the same directions but just double up the yarn and use a 6.5mm crochet hook.
Level: Beginner/Intermediate
If you need any help with this pattern, please feel free to message my Etsy shop, DM me on Instagram @crochetbycolleen OR e-mail me crochetbycolleenUS@gmail.com
This pattern is available for personal use only. You cannot share or sell this written pattern. You can sell your own appliqués but please tag @crochetbycolleen for design credit. Thank you so much for your cooperation!
PLEASE share your makes with me on Instagram! I love to see and share what YOU are making so be sure to tag @crochetbycolleen Happy crocheting!!
YOU WILL NEED
-
4- medium weight yarn- I used Lion Brand’s Vanna’s Choice for the skin. I used Beige. For the nails I used whatever hot pink yarn I had laying around! Great way to use your scraps!
-
Felt for backing (optional)
The stitches/ skills you will need to know and KEY:
-
Chain (ch)
-
Slip Stitch (sl st)
-
Single crochet (sc)
-
Double crochet (dc)
-
Magic circle
-
Continuing in rounds
-
Surface crochet
-
Weave ends and finish off.
Final dimensions: 3 x 5 inches
Full step by step video tutorial HERE:
CROCHET PATTERN
Palm
With desired skin color and a 5mm crochet hook
Round 1: Work 6 sc into ring – 6 sts. Do not join, continue in a spiral.
Round 2: (2 sc) in each st —12 sts
Round 3: [(2 sc) in next sc, sc in next sc]— 18 sts
Round 4: [(2 sc) in next sc, sc in next 2 sc]— 24 sts
Round 5: [(2 sc) in next sc, sc in next 3 sc]— 30 sts
Round 6: [(2 sc) in next sc, sc in next 4 sc]— 36 sts
Do not finish off, chain 2, dc, dc, hdc, hdc, sc, sc, sl st. Finish off and weave ends.
Pinky
Count up 5 stitches from where you finished off the palm, this is where you will start the pinky.
Row 1: Make 1 sc in the 5th stitch up from where you finished off, make two more sc in the next two stitches. Chain 1 and turn.
Row 2: sc across (3 sc)
Row 3- 6: sc across (3 sc). Finish off and weave ends.
Ring Finger
Count over one stitch to the left of the pinky and then repeat exactly the same steps as the pinky. Finish off and weave ends.
Middle Finger
Count over one stitch to the left of the ring finger and then repeat the same steps as the pink and ring finger except add one more row. You’ll have 7 rows total. Finish off and weave ends.
Pointer Finger
Count over one stitch to the left of the middle finger and then repeat the same steps as the middle finger (7 rows) Finish off and weave ends.
Thumb
Count over 6 stitches to the left of the pointer finger and then repeat the same steps as the pointer finger (7 rows) Finish off and weave ends.
The outline of each finger
Now you will outline each finger by making surface crochet (which is essentially a slip stitch around each finger.
Thumb Outline
Turn work over so you are looking at the back on the hand and insert the hook at the bottom right part of the thumb, evenly make slip stitches going along the outline of the thumb. Sl st two stitches together at the very top of the finger. Once you get to the bottom of the other side. Finish off and weave ends.
Pointer and Middle Finger Outline
Turn the back so you are looking at the front side of the work. For both the pointer and middle finger you will insert with a slip stitch and the bottom right side of the finger and end at the bottom left, sl st two stitches together at the top of each finger. Finish off and weave ends.
Ring Finger and Pinky Outline
Follow the same steps you did for the thumb so make sure you turn your work to you are looking at the back when you start.


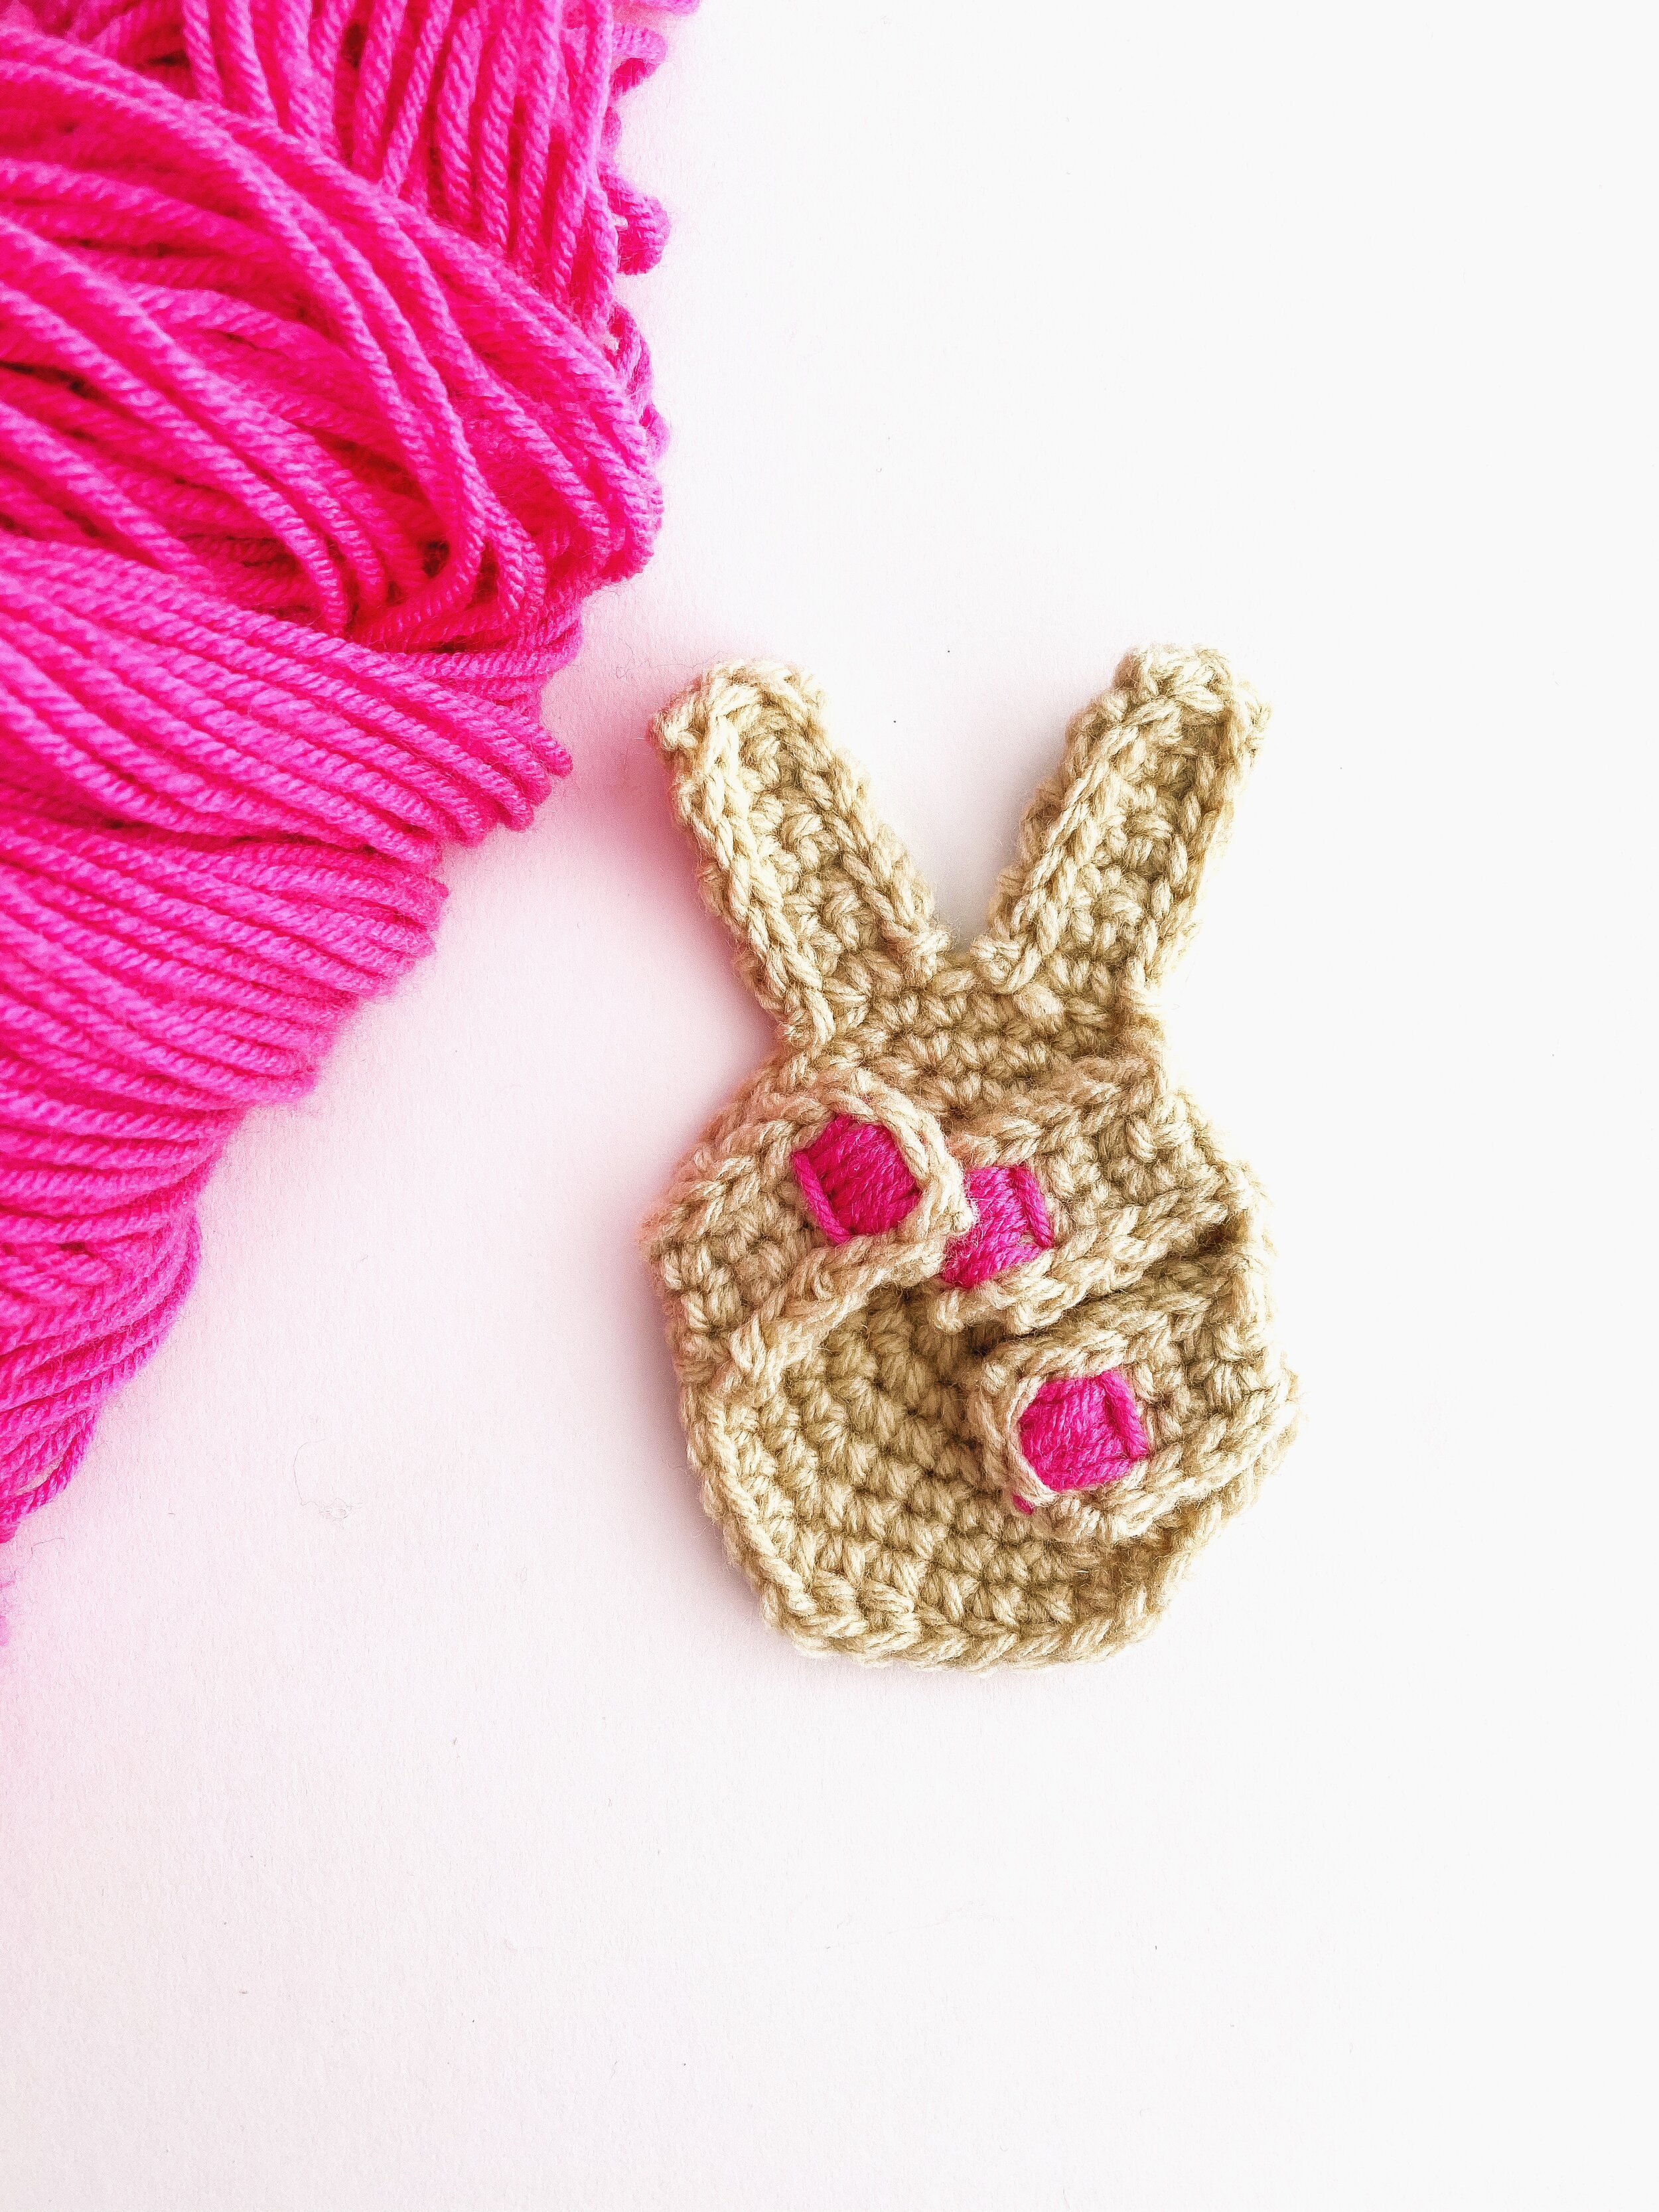
Finger Nails
With a tapestry needle and whatever nail color you want stitch in the nails on the back side of the work for the pink, ring finger and thumb.
You can use the picture and video as a guide.
Fold the ring finger and pinky down first and glue them down with hot glue then glue down the thumb.
Depending on what you would like to do with the appliqué you can glue felt to the back especially if you want to use it as a decoration. But if you are using it for a tote bag, frame, jacket or greeting card you can either glue or sew the piece right to your product.

If you have any questions please let me know but emailing me crochetbycolleenus@gmail.com
Please be sure to Pin this pattern for Pinterest for later!
And sign up for my email list to you are the first to know about new patterns, kit, and special offers! www.crochetbycolleen.com
Happy crocheting!!!


